Add bank account transactions in the international segment of your MProfit Cloud quickly with the classic view. This guide walks you through adding both deposits and withdrawals, so you can keep your records accurate and up to date.
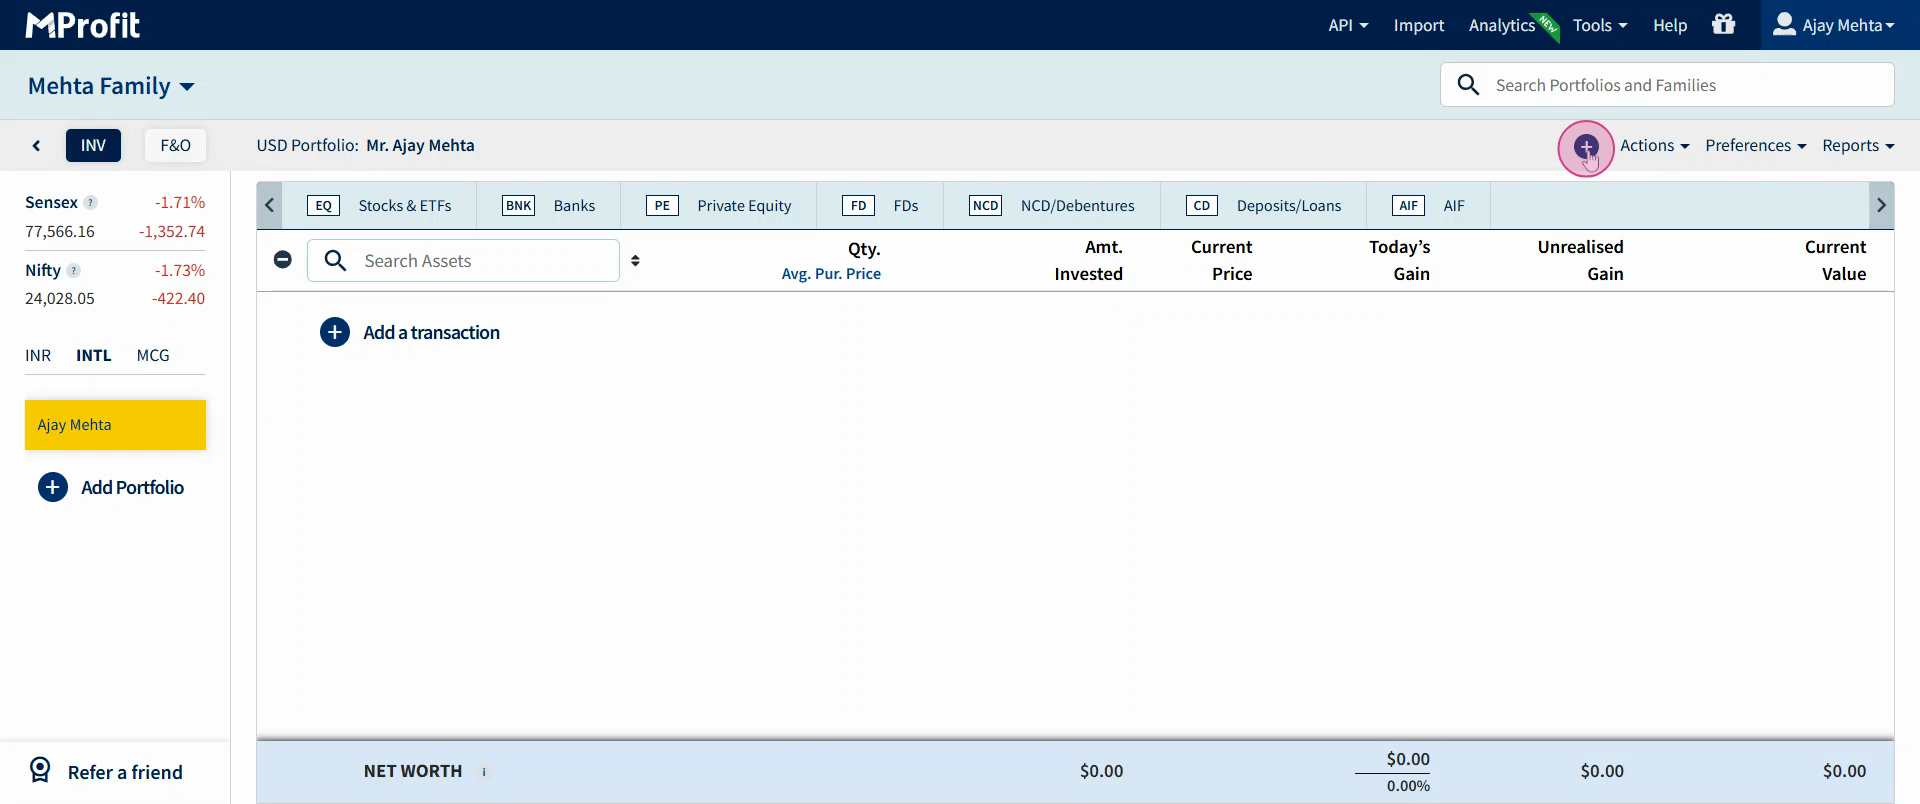
Step 1: Navigate to the international segment in the classic view of your MProfit Cloud.

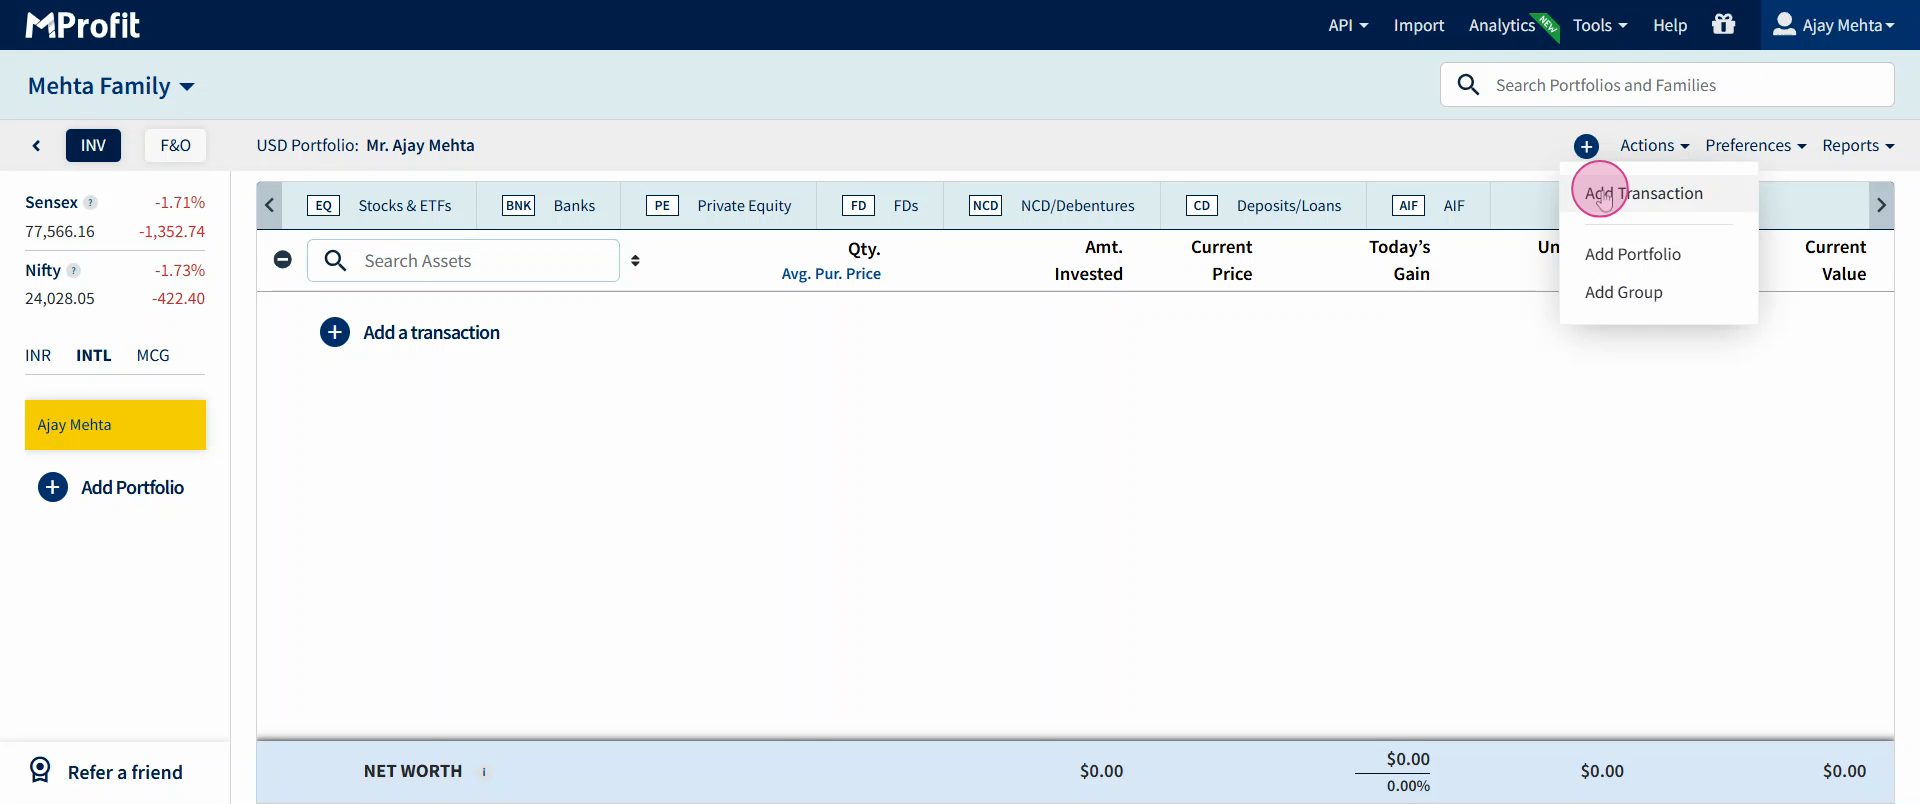
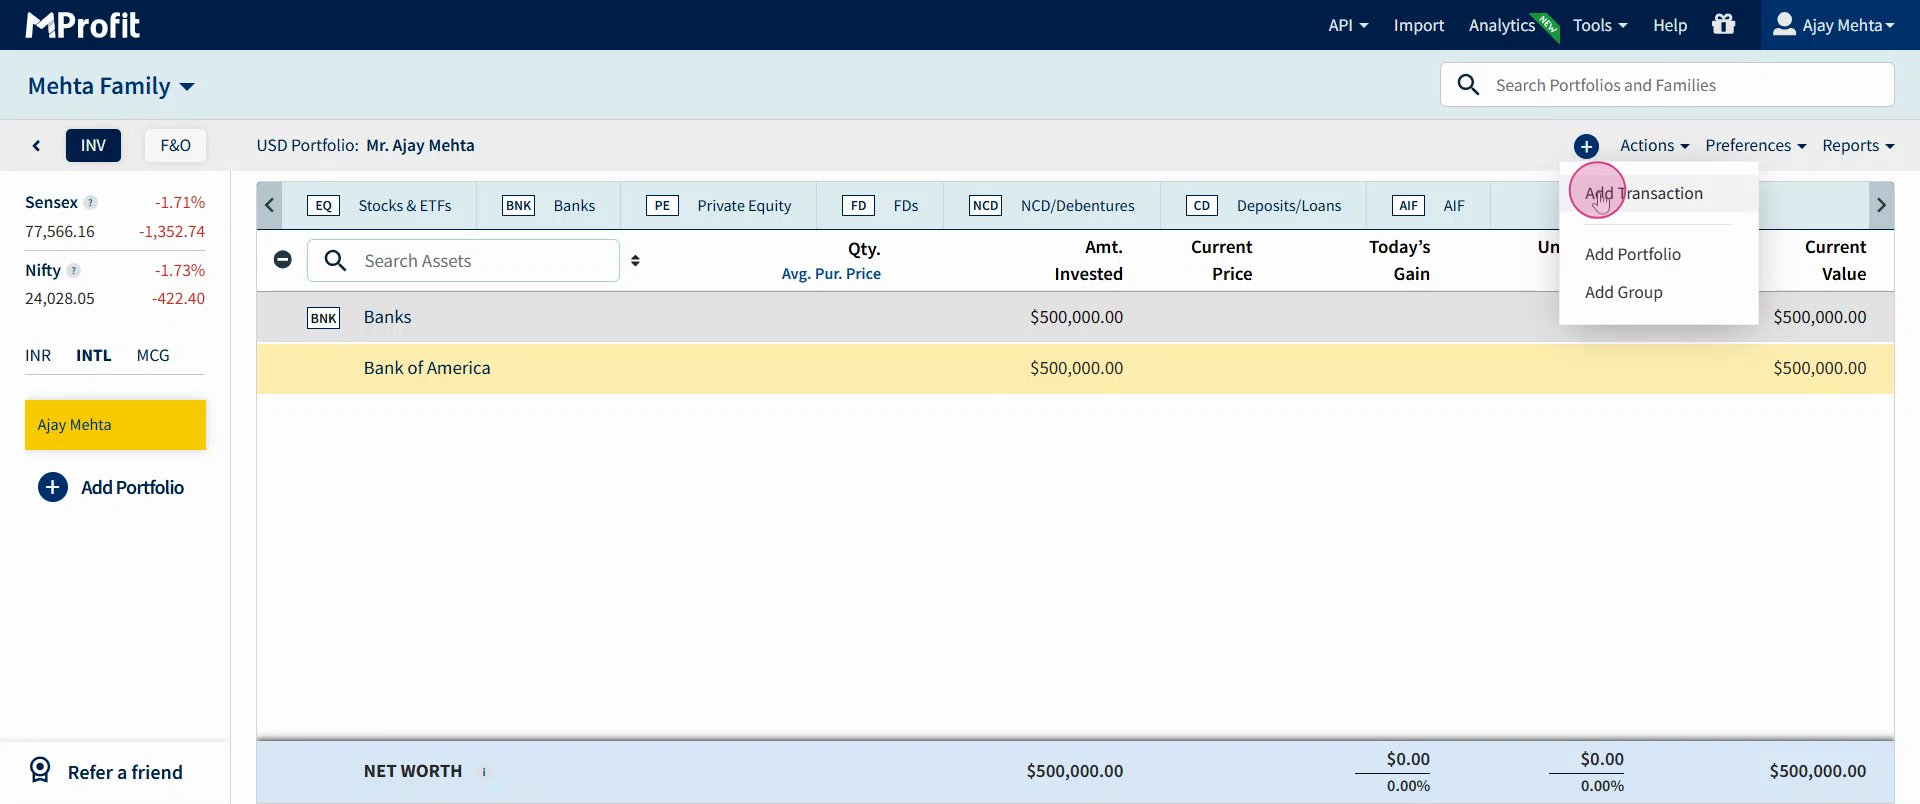
Step 2: Click the plus icon to start adding data.
Step 3: Select Add Transaction.
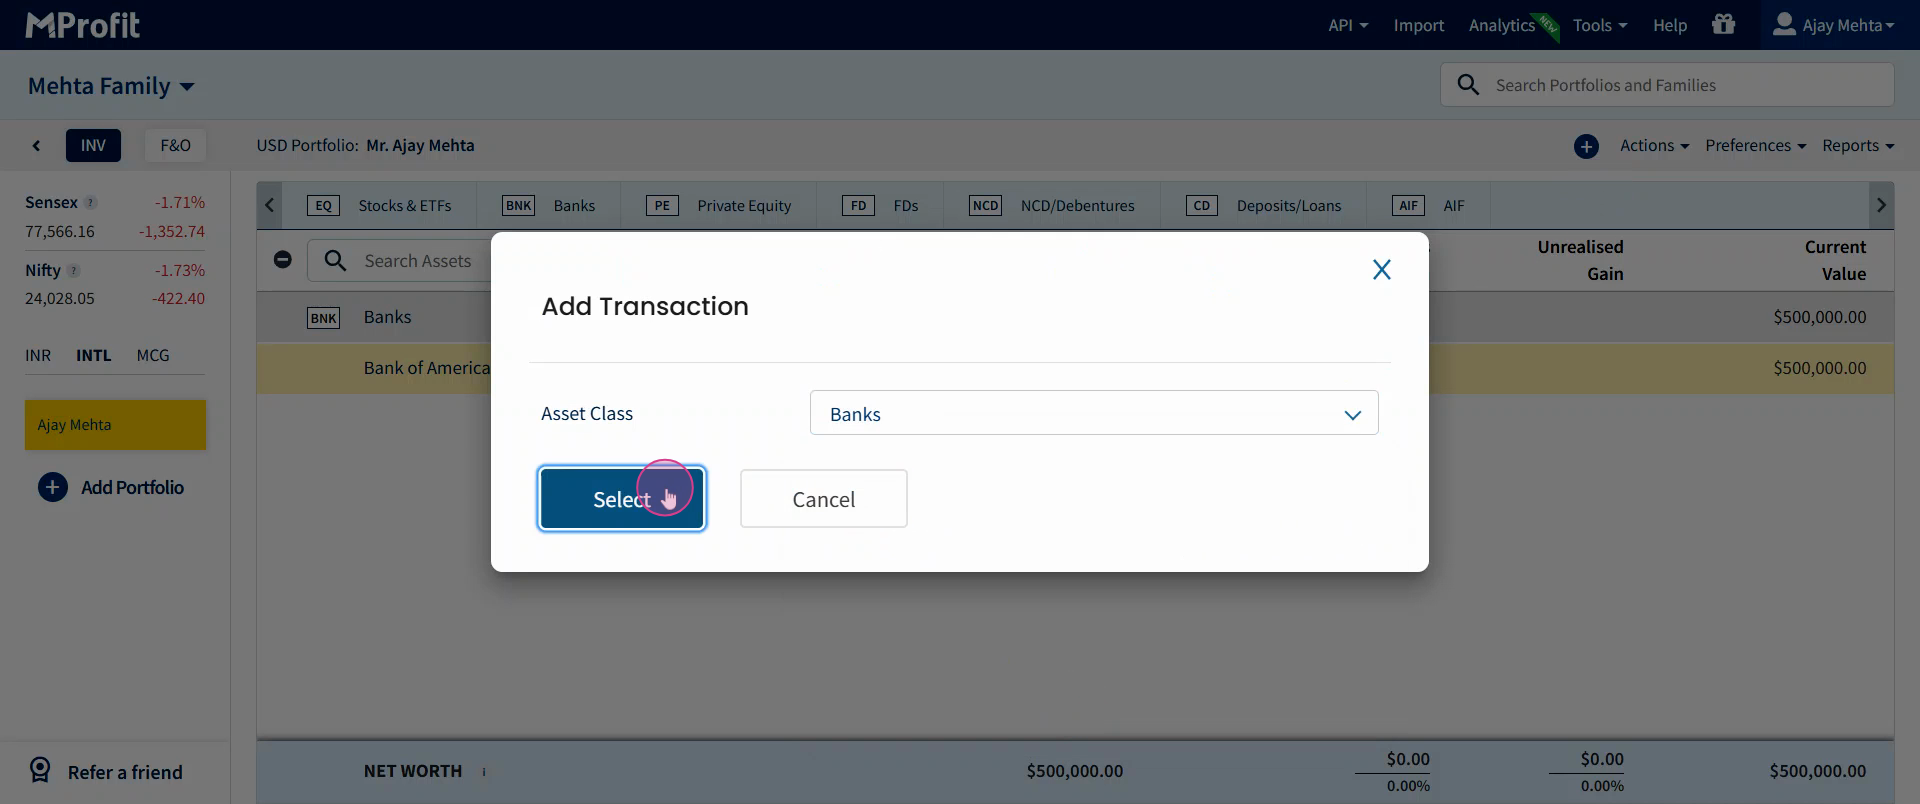
Step 4: From the Asset Class list, open the dropdown.
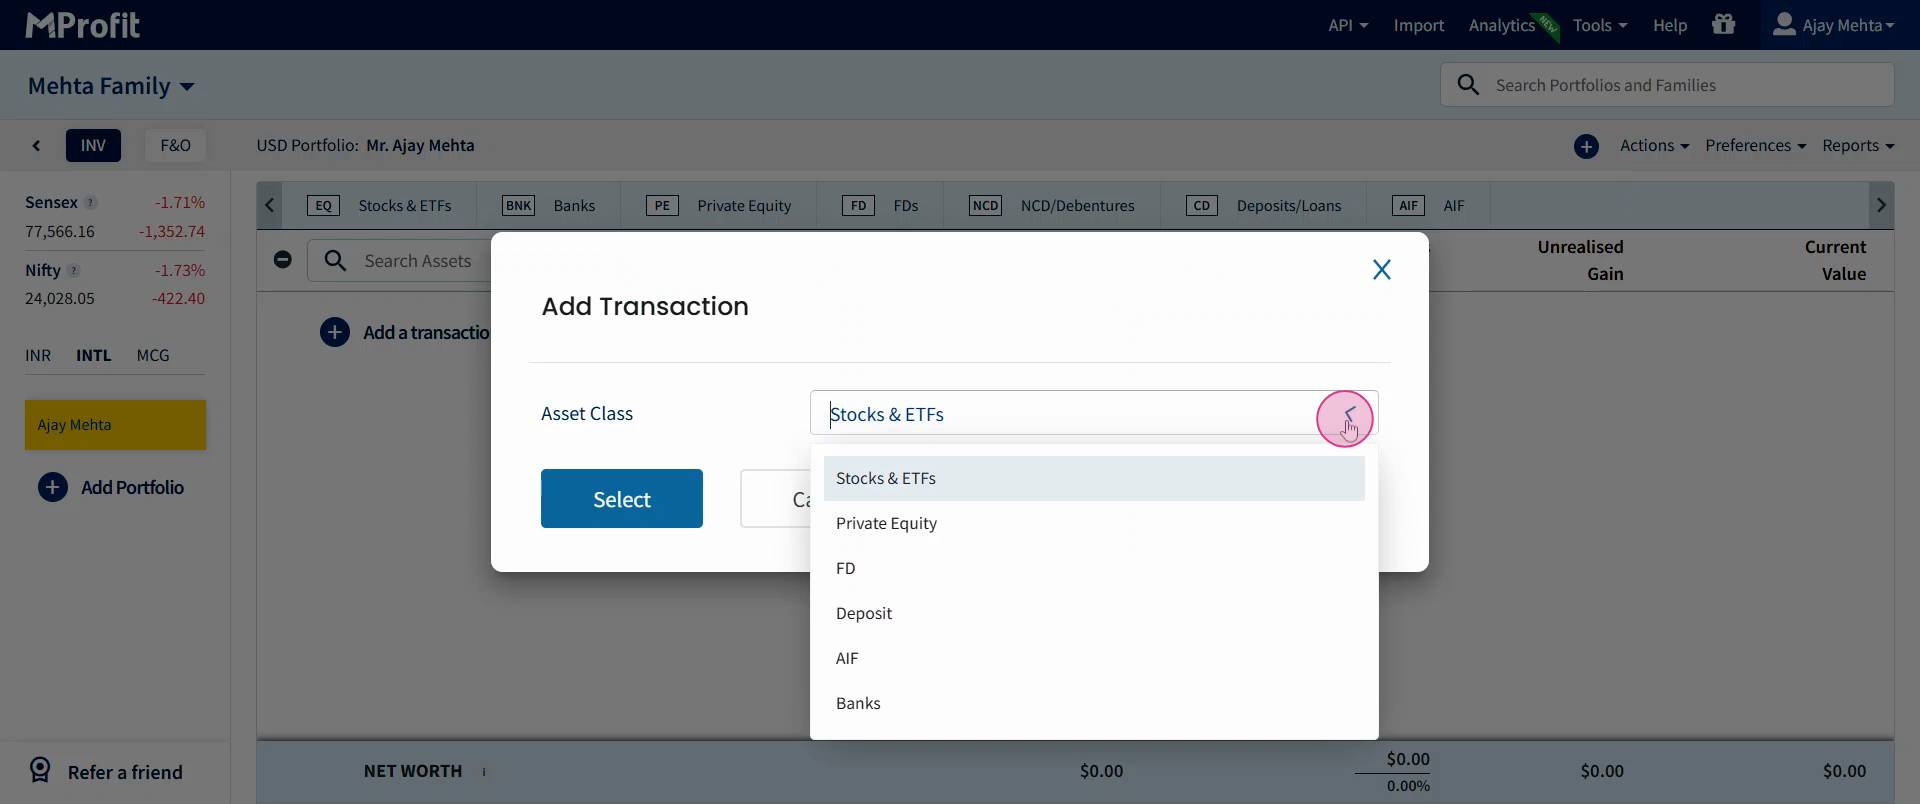
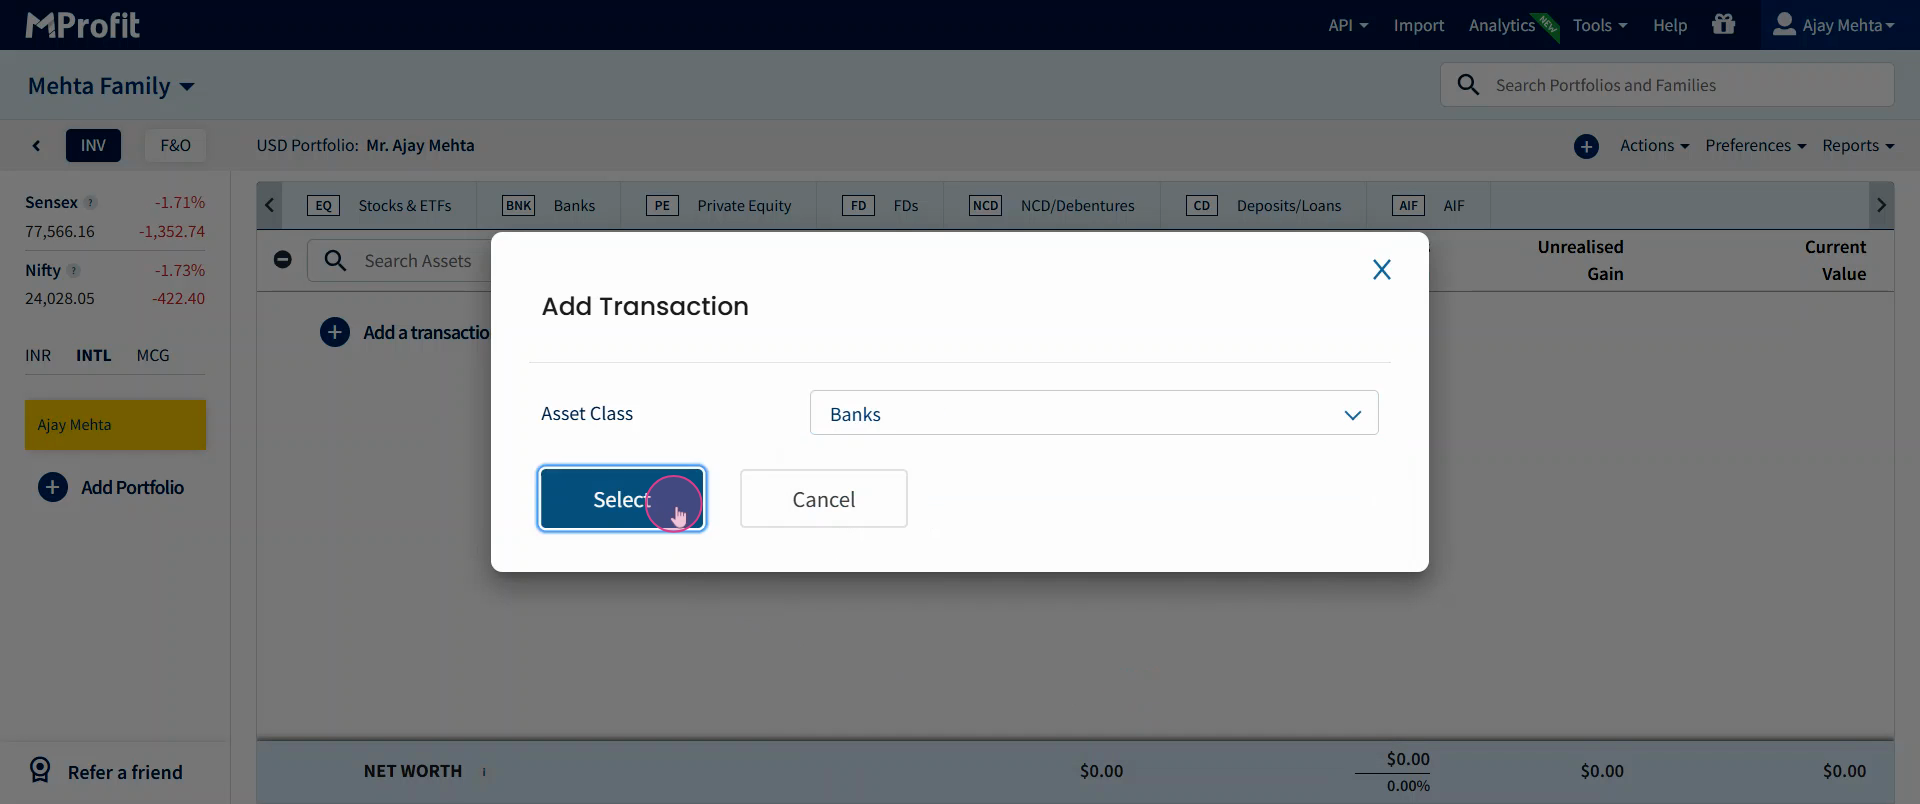
Step 5: Choose Banks as the asset class.

Step 6: Click Select.
Step 7: In the transaction entry page, select Deposits from the transaction type dropdown if you’re adding a deposit.

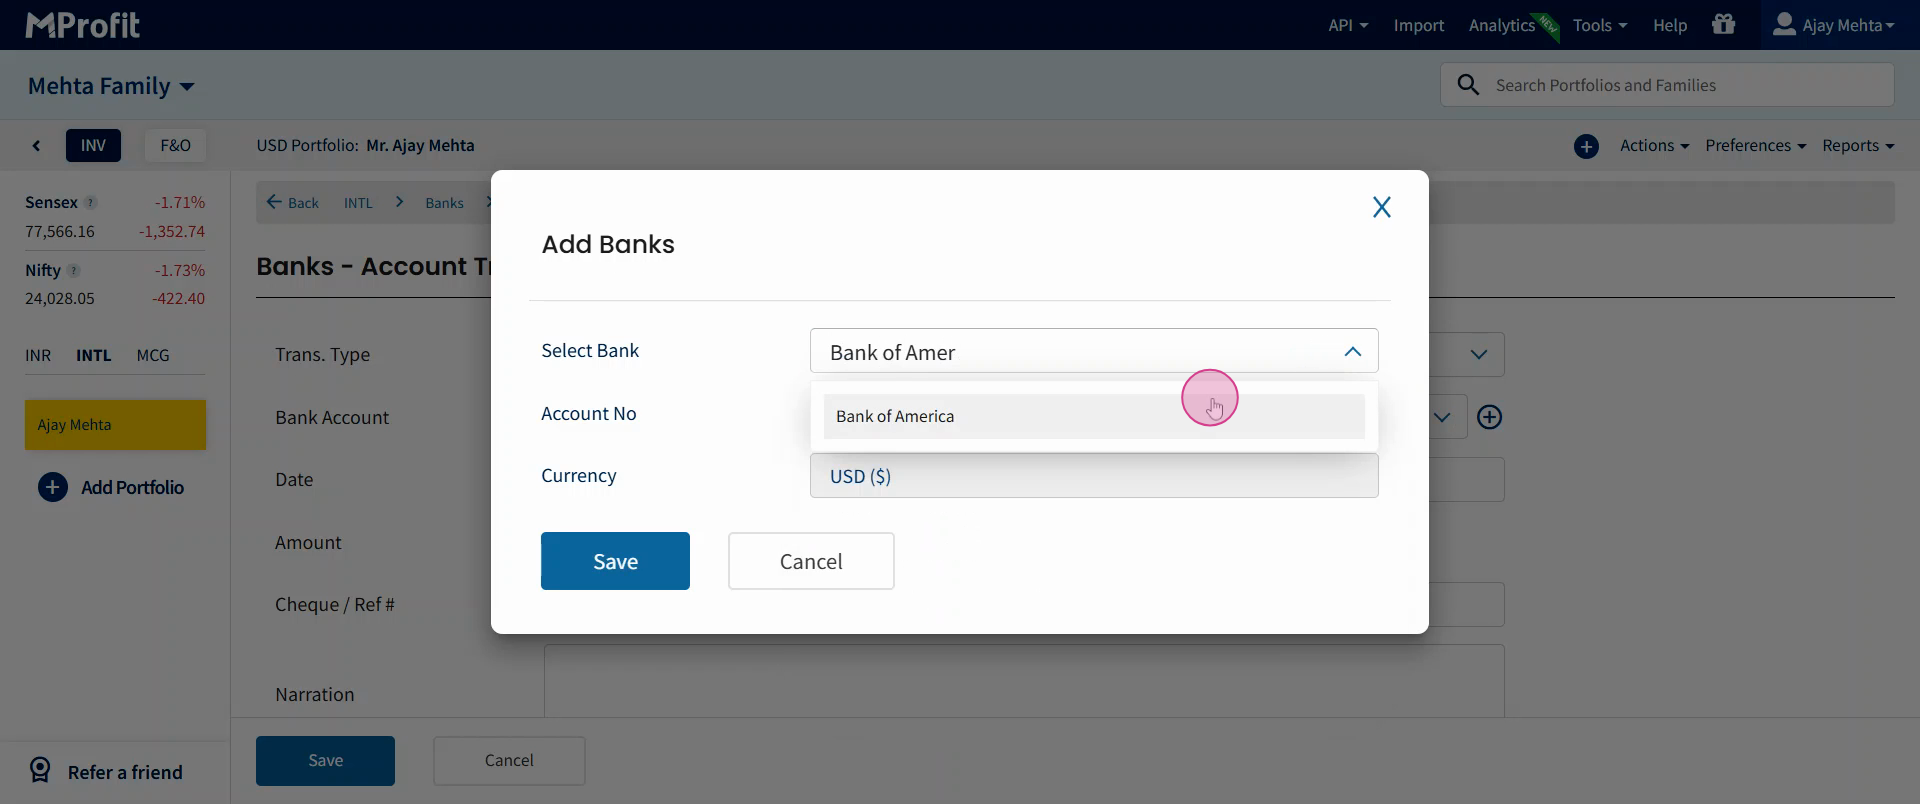
Step 8: To add a new bank account, click Add New.

Step 9: Enter the bank name.
Step 10: Enter the Account number.
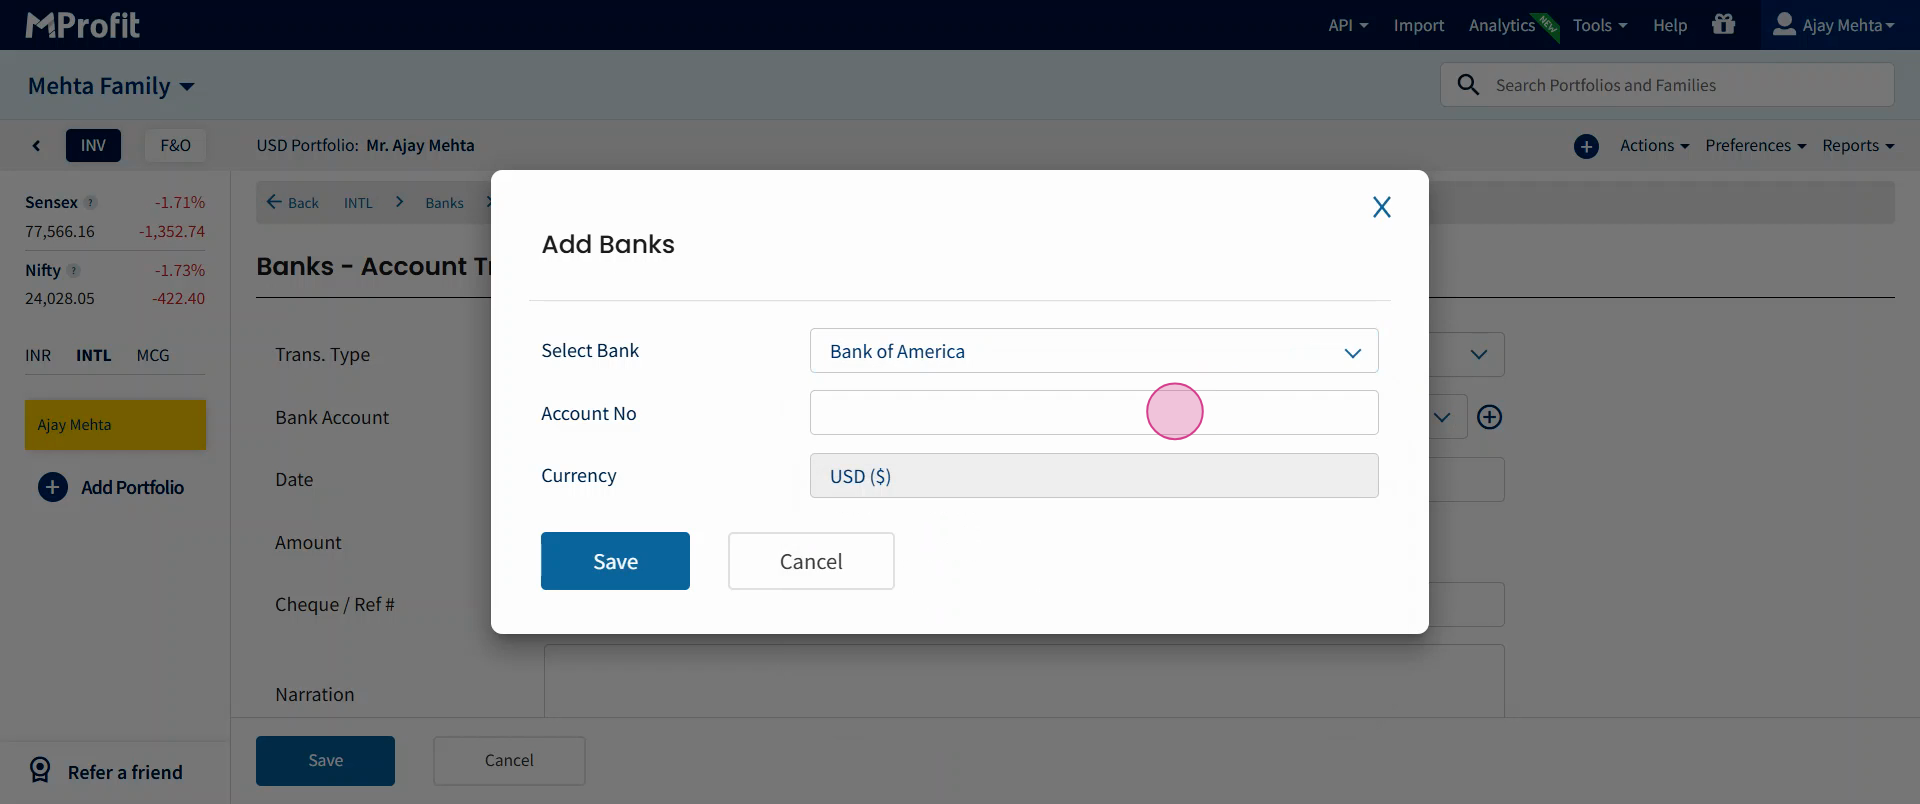
Note: Confirm the default currency, shown as US dollars.
Step 11: Click Save.

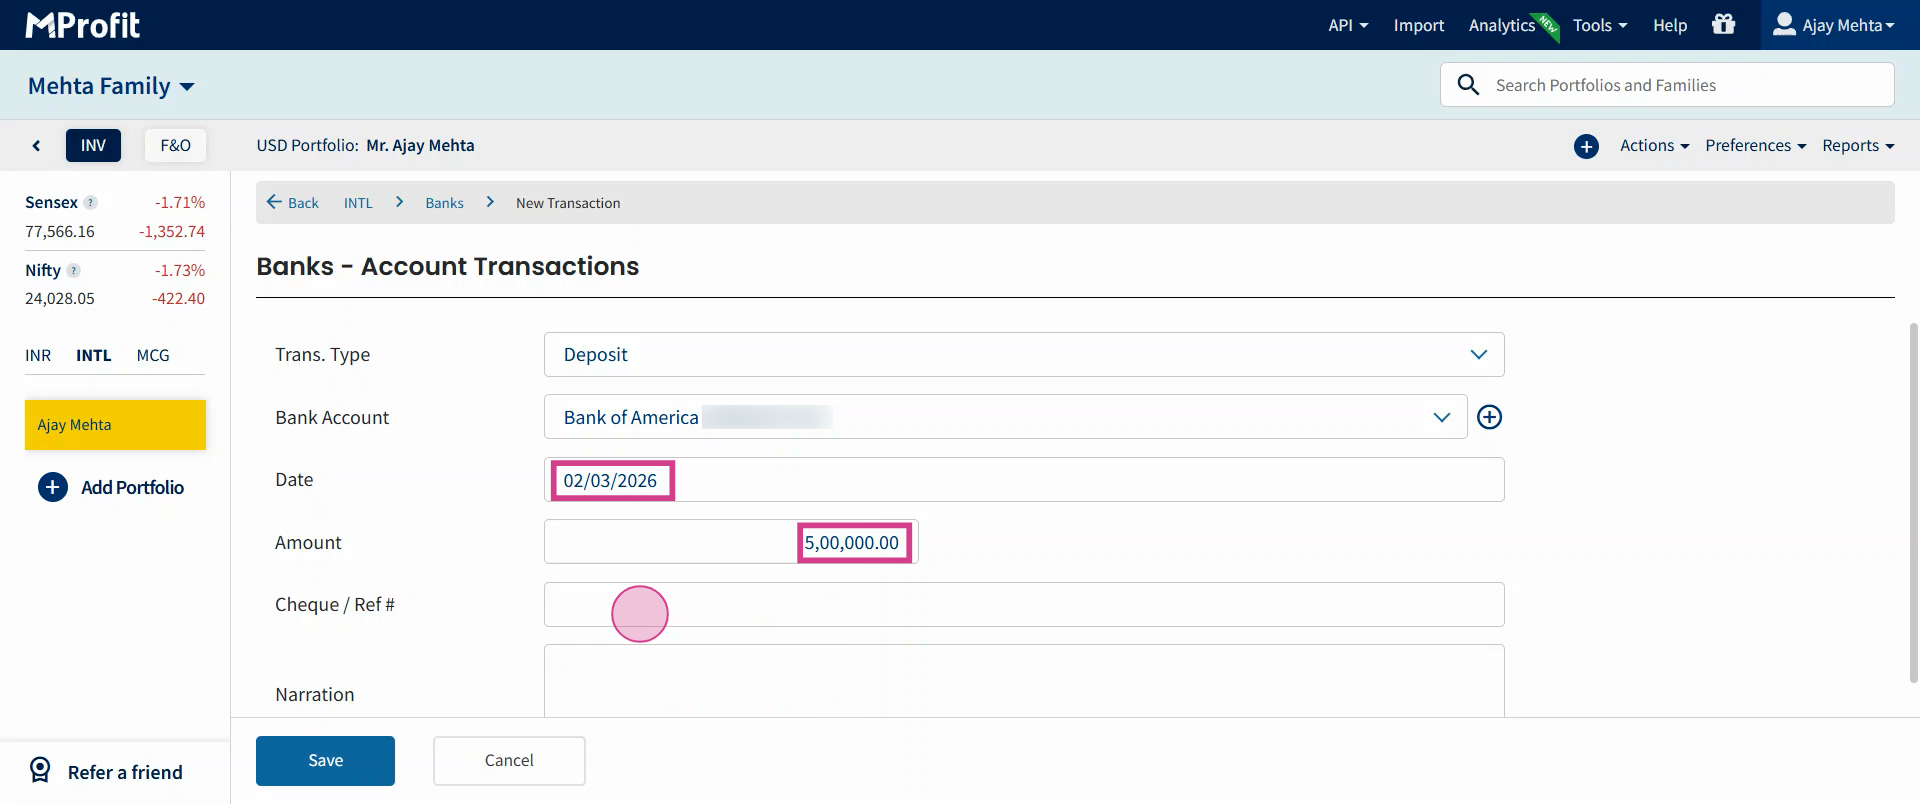
Step 12: Enter the date of transaction and the amount.
Step 13: Add a check or reference number if needed. Enter a narration for the transaction if applicable.
Step 14: Click Save to finalize.

That’s it! Your bank account deposit is now recorded in the international segment.
Adding a Withdrawal Entry
Track withdrawals just as easily to keep your asset records updated.
Step 1: Again, click the plus icon and choose Add Transaction.

Step 2: Select Banks as the asset class and click Select.
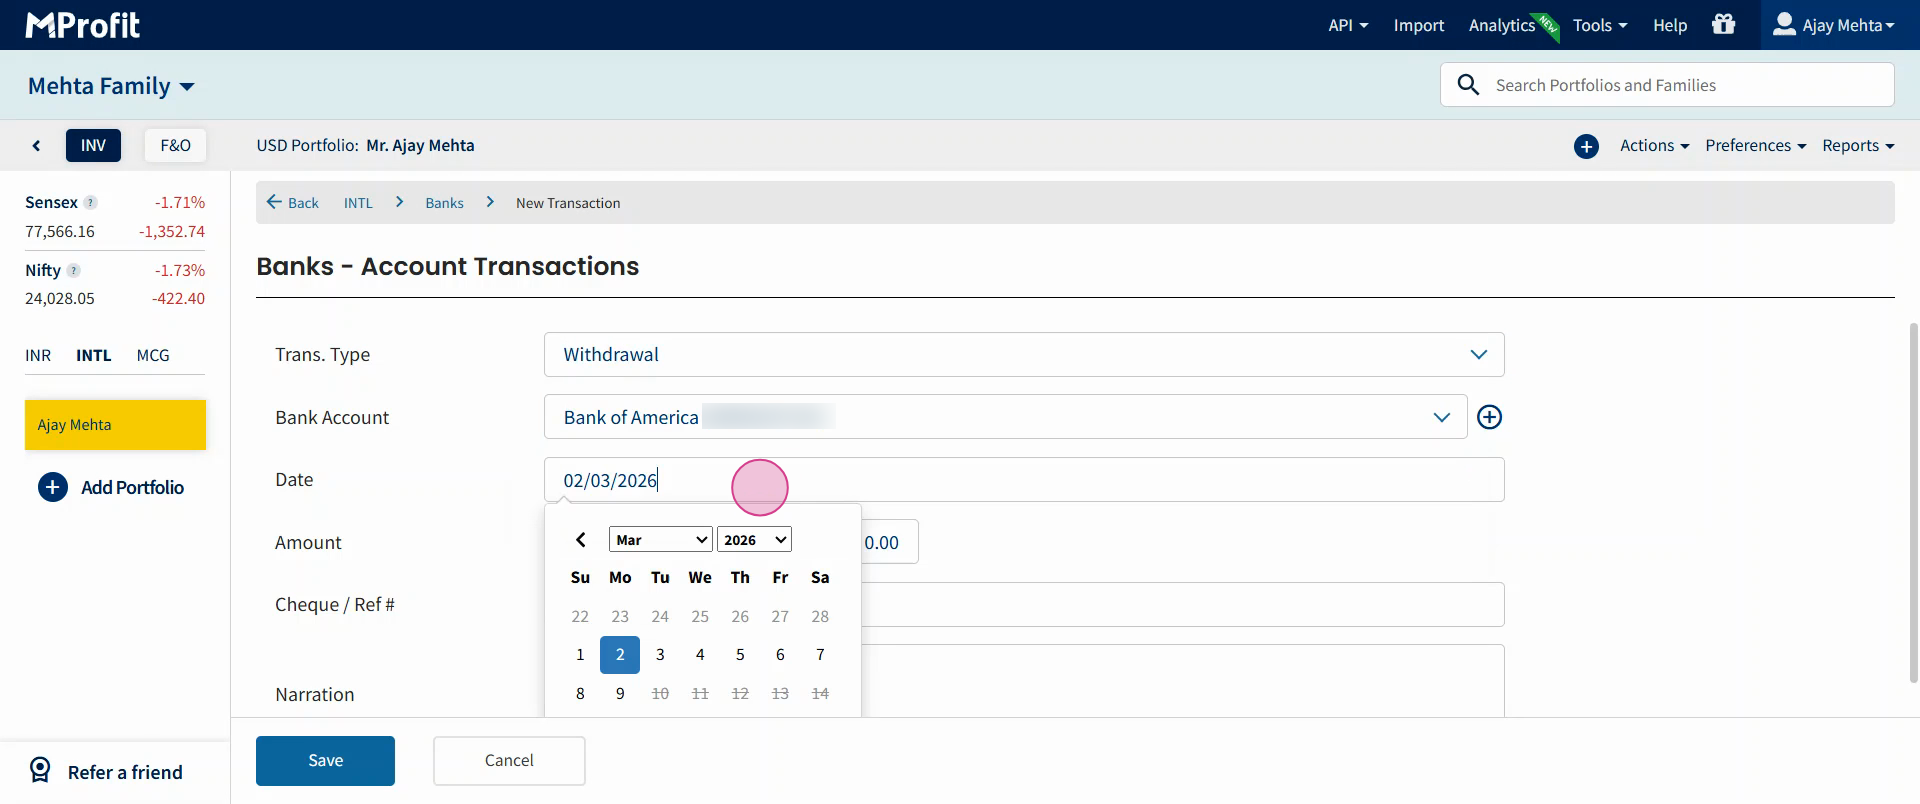
Step 3: For the transaction type, choose Withdrawal.

Step 4: Click on the bank account list and select the appropriate bank account.

Step 5: Enter the date of transaction.
Step 6: Enter the amount for withdrawal.
Step 7: Enter a check number if you have one.
Step 8: Add a narration if needed.
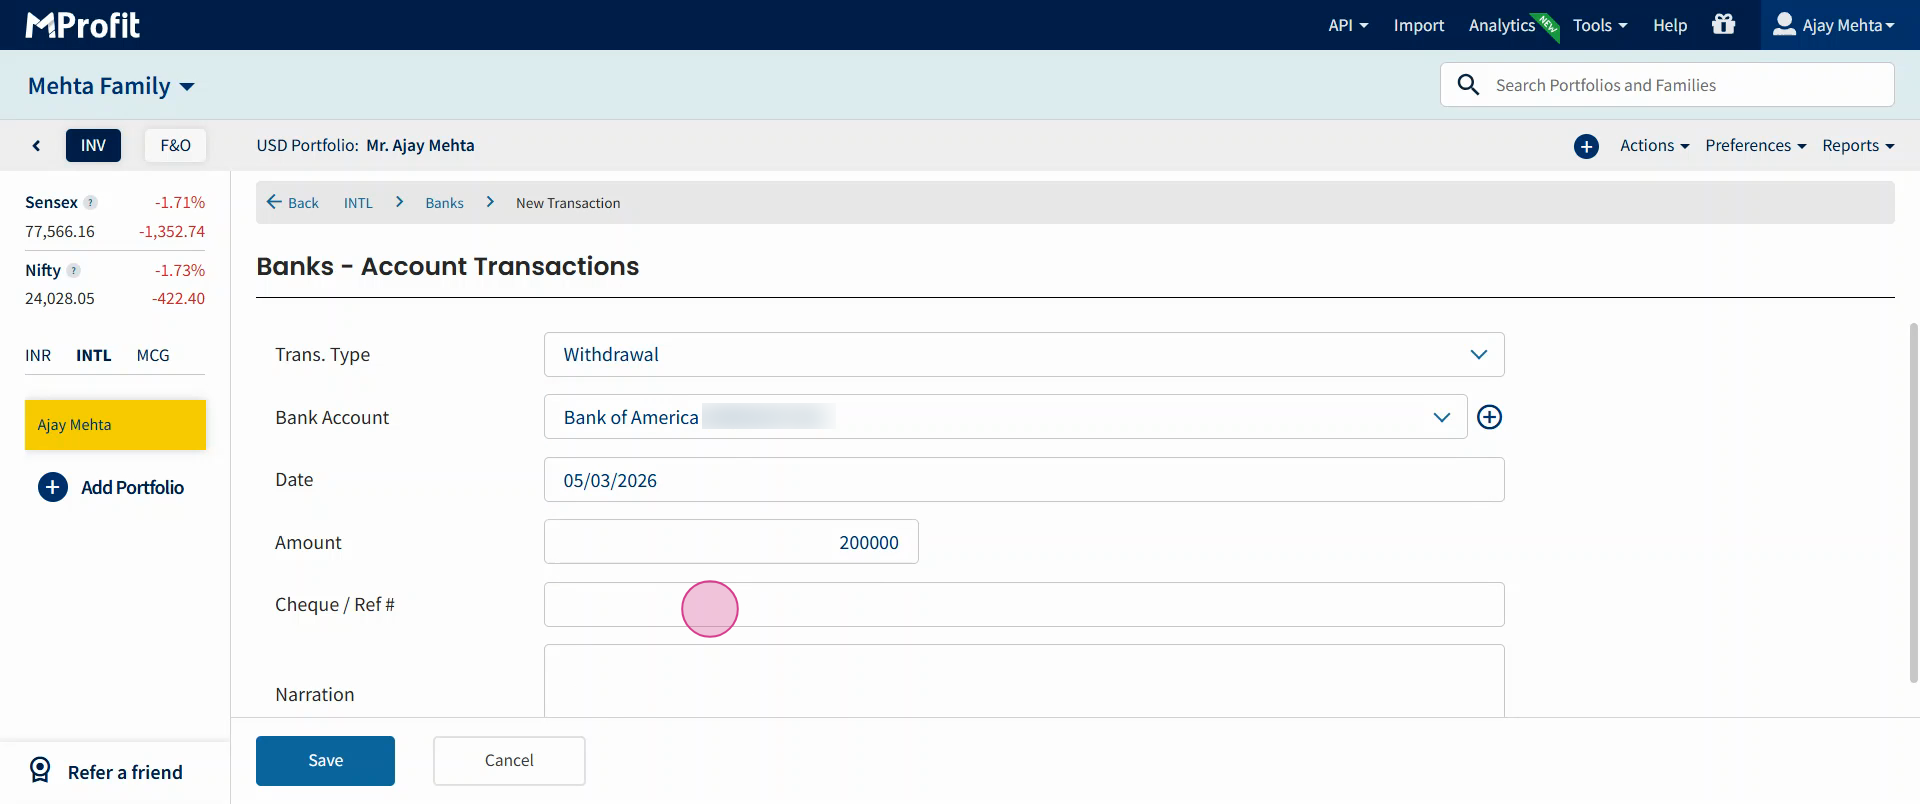
Step 9: Click Save to complete the entry. Your withdrawal is now logged in the bank account asset class.
Keeping your bank records updated in MProfit Cloud's international segment helps track movements and ensures a precise view of your assets.
Repeat these simple steps any time you need to add or update transactions. Thanks for following along!
Was this article helpful?
That’s Great!
Thank you for your feedback
Sorry! We couldn't be helpful
Thank you for your feedback
Feedback sent
We appreciate your effort and will try to fix the article